- RED ROADS
- OUTDOOR EDUCATION
- Camp Kitchen
- Gear
- Furry Friends
- Sleep
- Merch
- Clearance
- View All
- Sign in
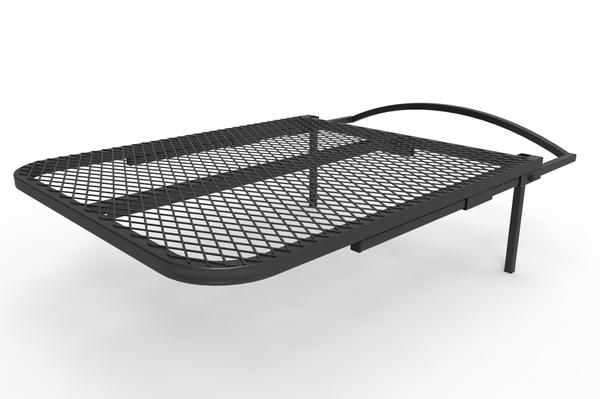
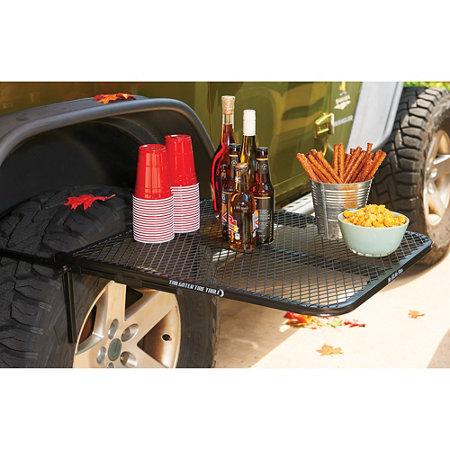
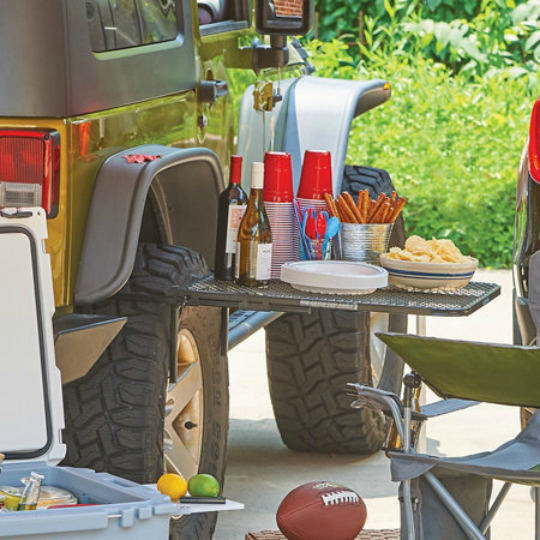
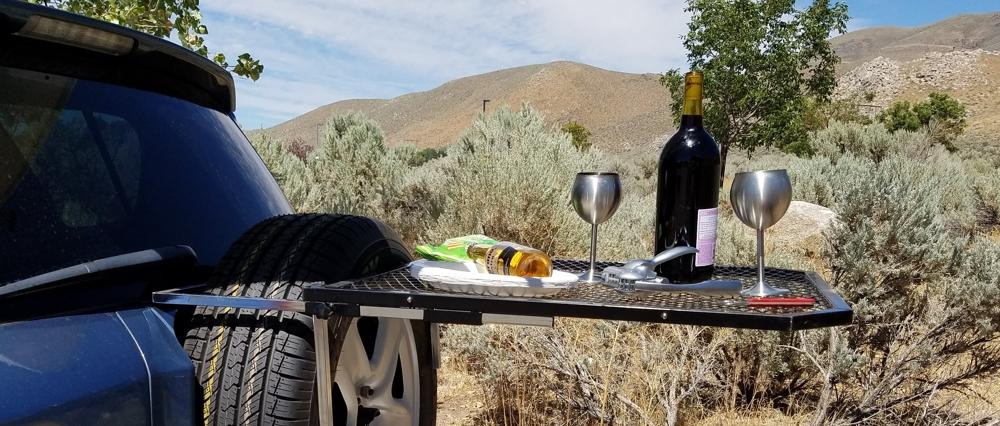
The Original TailGater Tire Table - Standard - Steel - Black
$199.00 $299.00
Beware of cheap copies - this is the patented original!
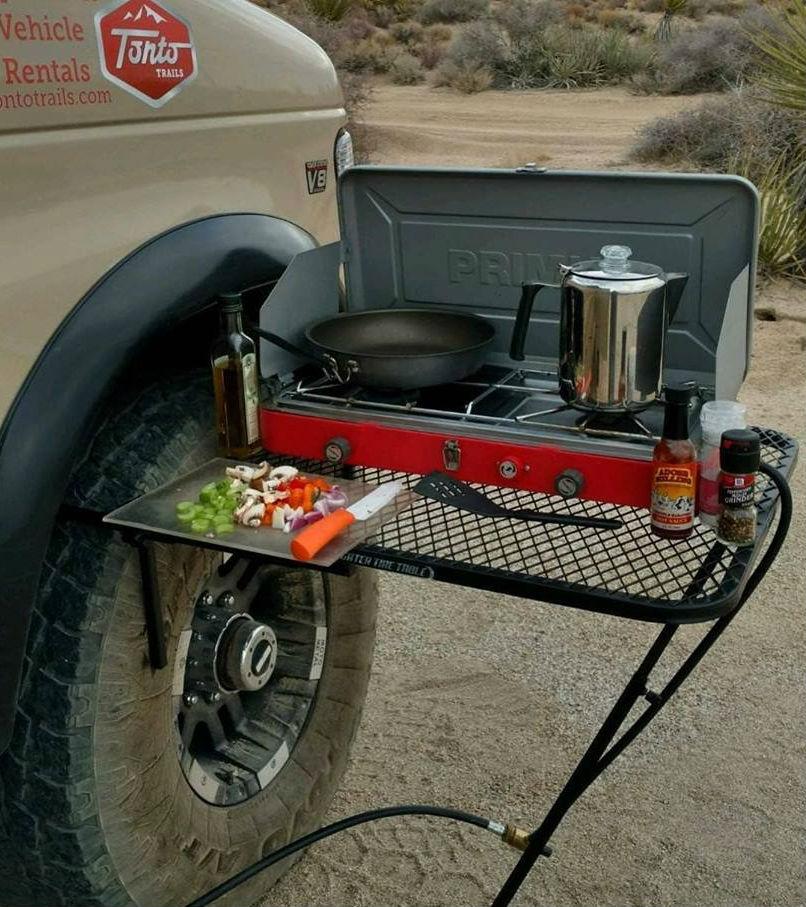
- Stable regardless of ground conditions
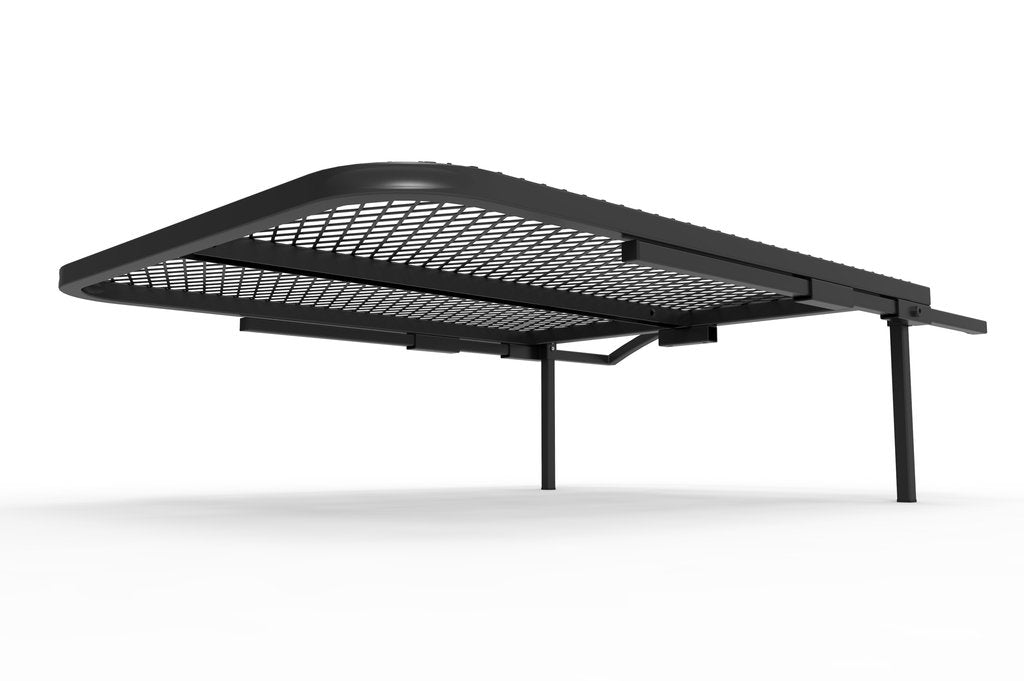
- Retractable leg for extra support
- Fits most tire sizes 14" and up
- If your fender is extremely close to the tire, it may not fit
- No tools required for installation
- No hitch required
- Installs within seconds
- Weighs under 7kg
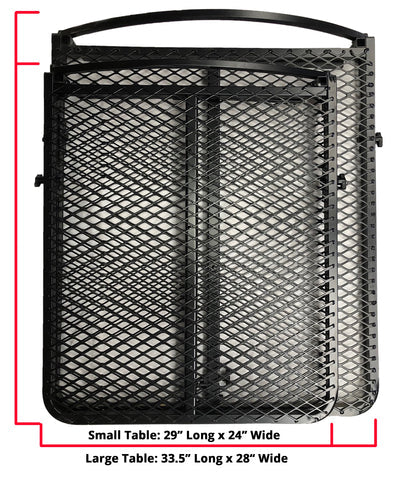
- 58cm W x 73cm L x 3.5cm D (23" W x 29" L x 1.5" thick)
- Powder coated finish
- All parts come with, and are stored on table, including t-bolts
- Not to be used as a seat or a step
- Use two between tires/tyres for a work platform.
Great for Outdoor Vehicle Adventures:
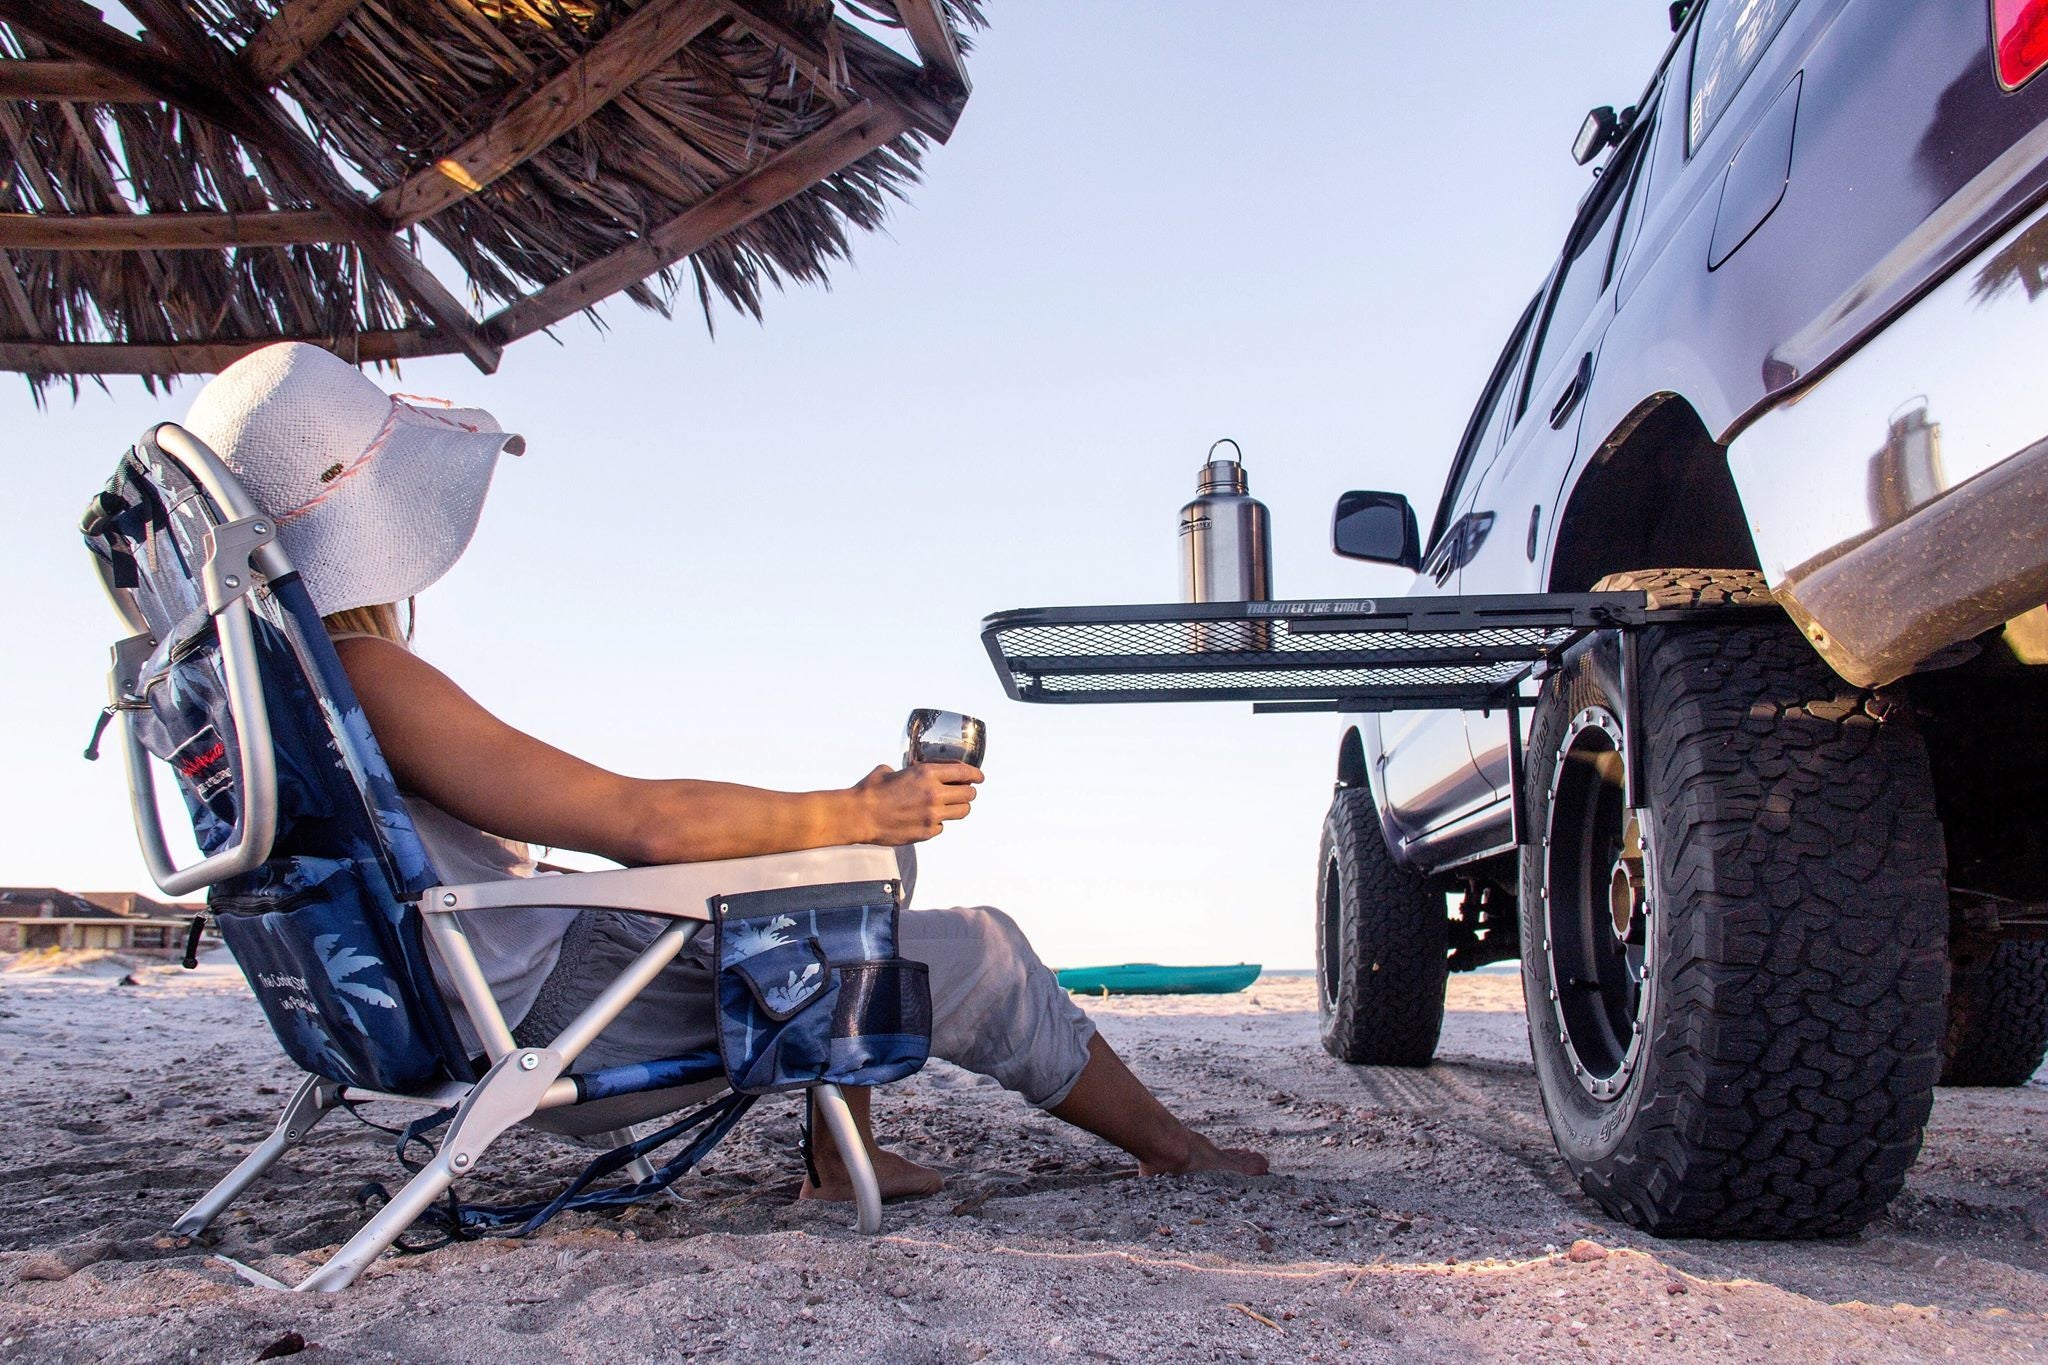
- Overland Excursions
- Tailgating of every kind
- Camping
- 4 Wheeling
- Hunting
- Car Travel
- Car picnics
- RV'ing
- Camping
- Motorhomes
- Biking
- Construction Sites
- Automotive Work
TailGater Tire Table Installation
Install three jam bolts. There are two on the sides that will lock the rear tire support slider in place. The additional one is for the retractable leg located in the channel down the center of the table.
Press the silver push buttons to release each of the two small legs from the storage located on the bottom side of the table.
Insert legs into the square receivers on left and right sides next to the rear tire support slider with the bend in it. The legs will be pointed towards the bottom of the table and the grip tape will be pointed away from the table top towards the bend in the slider.
After installing both legs into their receivers, loosen the jamb bolts on the left and right side and pull rear tire support slider out about 12 inches.
Put rear tire support over the tire and down until the slider rests on the tire.
With one hand on the rear tire support and your thigh on the outside of the table, pull the table snug against the tire and tighten one jam bolt. Repeat the same for the other side.
Leveling from front of table to back can be accomplished by either raising the table and tightening it against the tire, or loosening it on the tire allowing it to be lower at the end. Side to side leveling is accomplished by rotating the table on the tire.
For added strength and stability, release center retractable support leg by depressing the silver push button on the side of the leg storage channel. You will need to reach up under the table to do this. There is a rectangle cut out in the channel located on the top of the table over the silver push button where you can push the leg out while depressing the silver push button if needed.
Angle the retractable leg towards the tire and rest it between the tire and ground which will help to avoid kicking or tripping on it. It can also be put straight up and down. Tighten the jam bolt when the leg is at the desired length.
If your tires are 32” and up, flipping over the rear tire support slider so the bend is down will allow for more grip on the tire.
CAUTION:
*TailGater Tire Table is NOT a step or a seat. Using the table as either could result in injury and damage to the table.
*Remove the table before driving.
Collections: Camp Furniture, Tables & Kitchens, Tailgater Tire Tables
Related Items
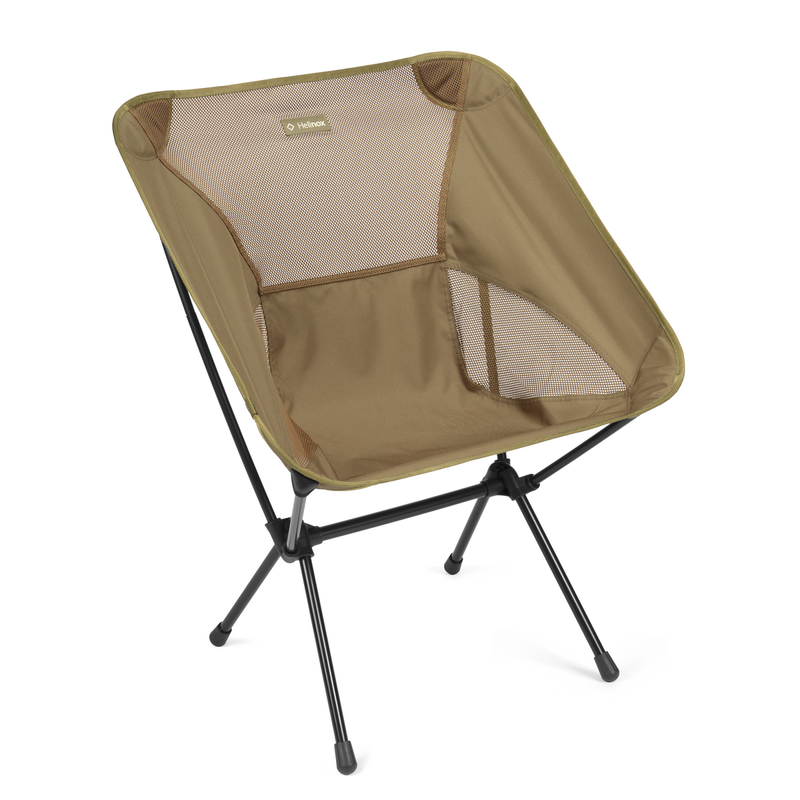
Helinox Chair One RE
$169.99
Enhanced comfort: The Chair One (re) is a redesign of the original award- winning Chair One, our #1 selling style and the product that defined...
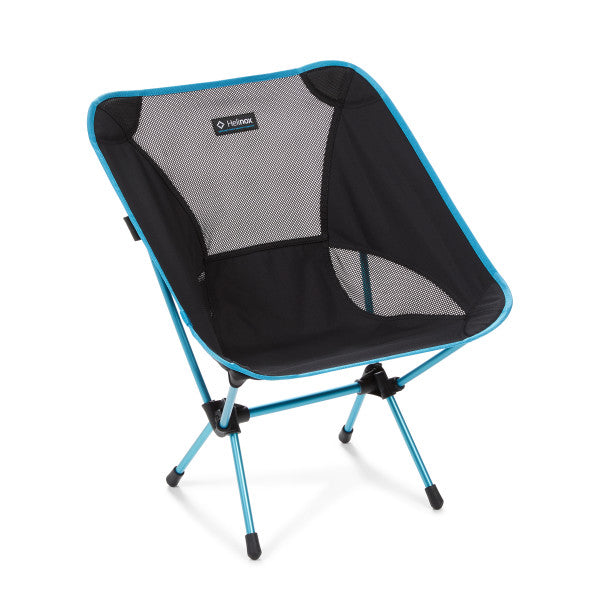
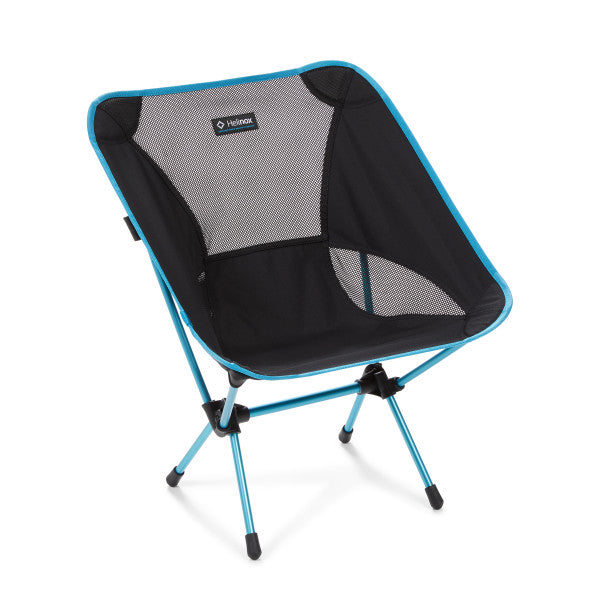
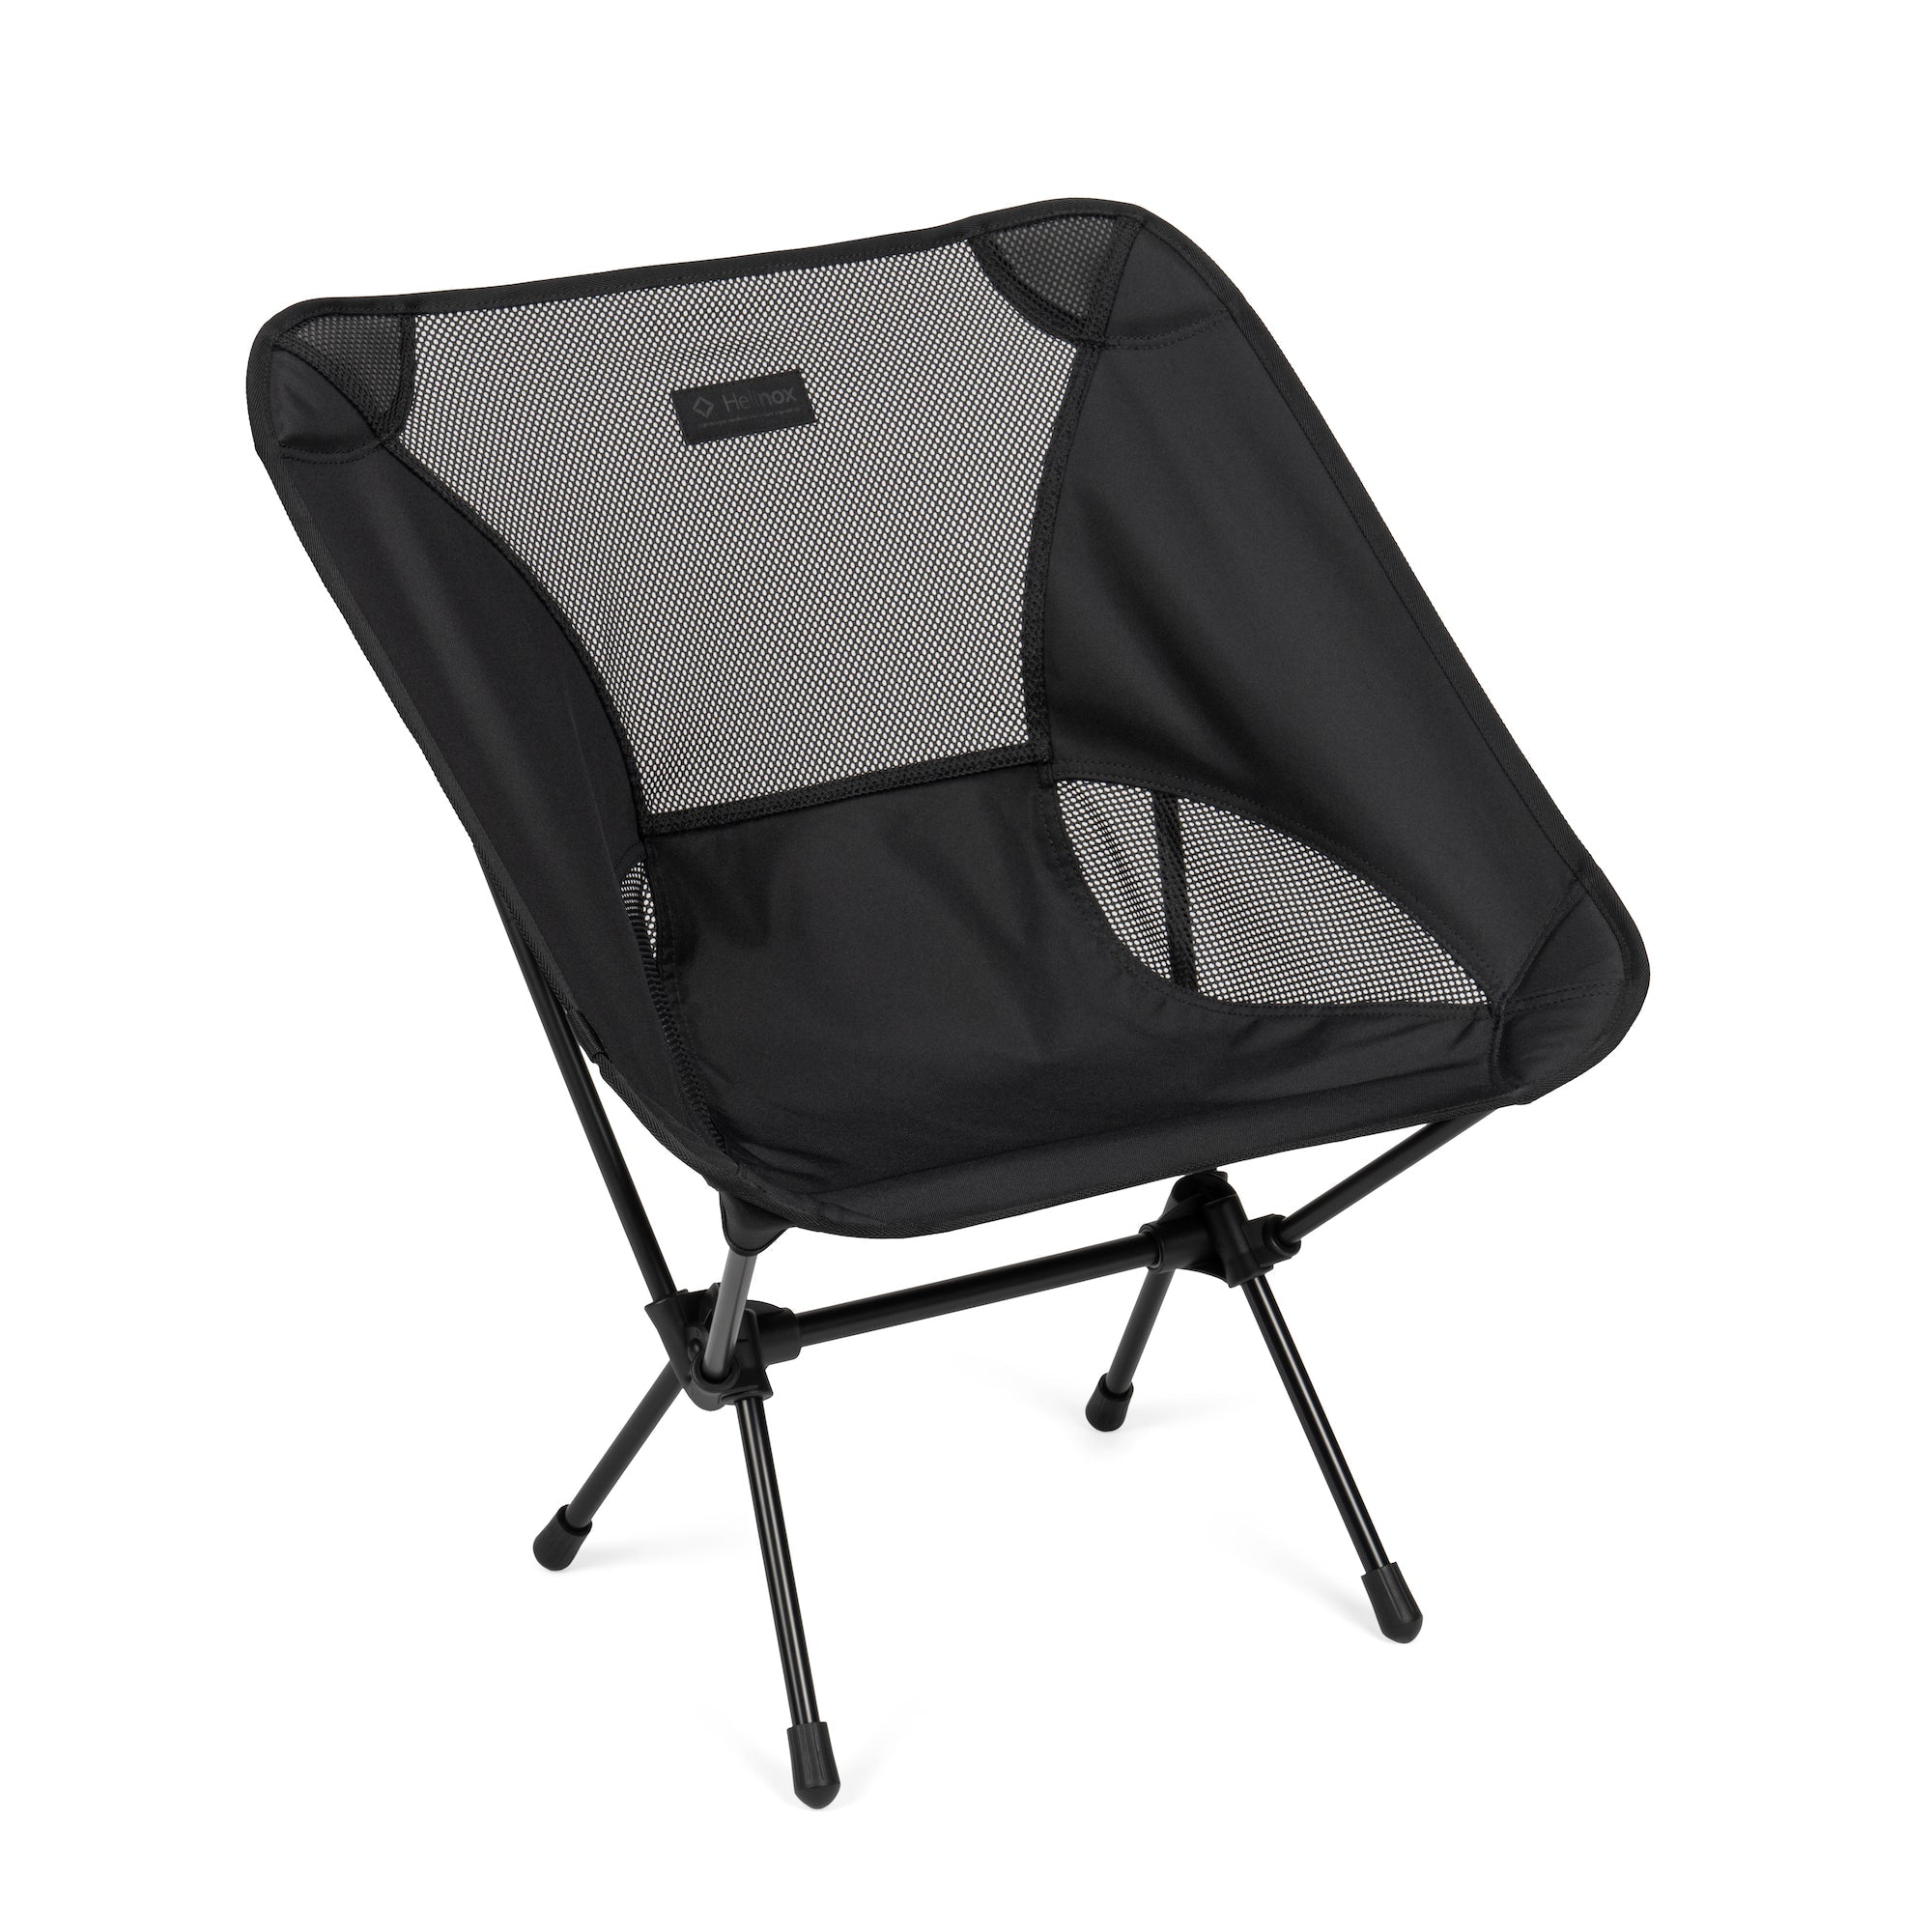
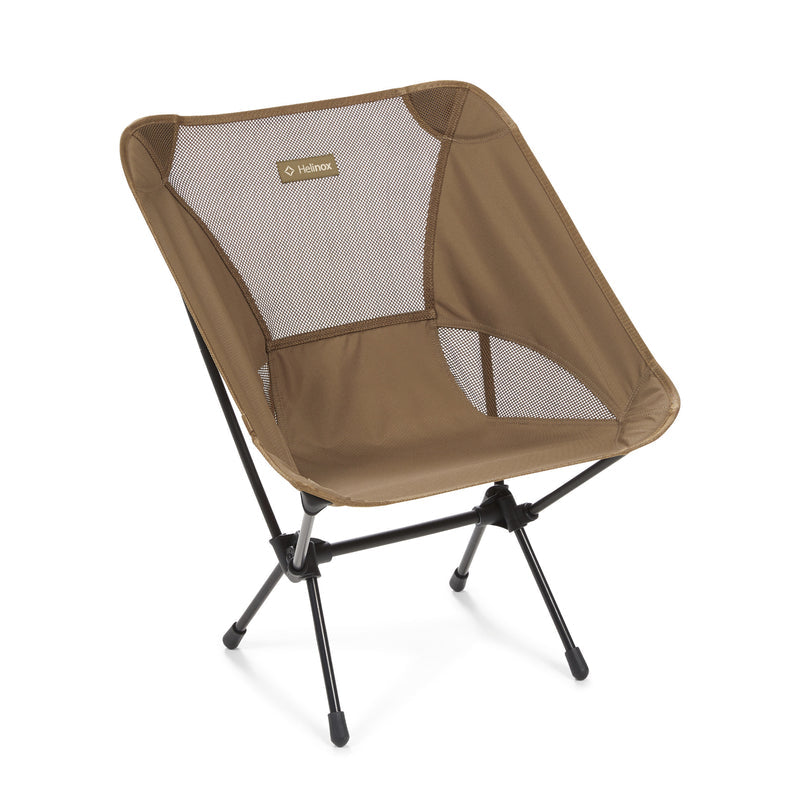
View full product detailsHelinox Chair One
$139.99 $149.99
Pioneering design and materials, exceptional packability and ease of use, outstanding comfort and support – this is the One, the chair that started it all....
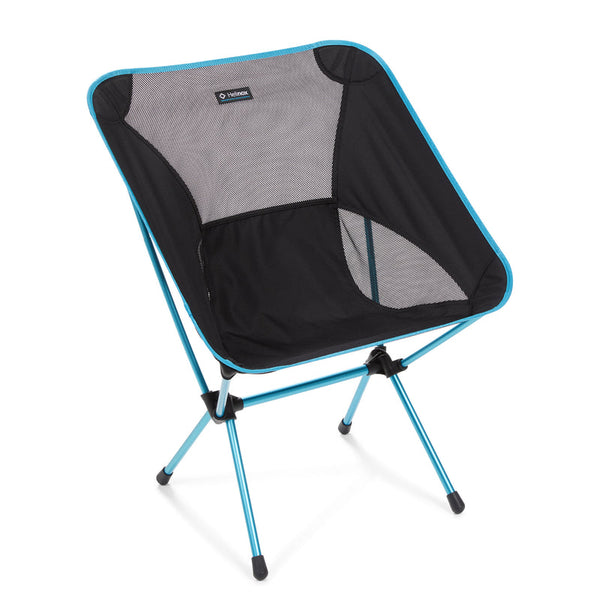
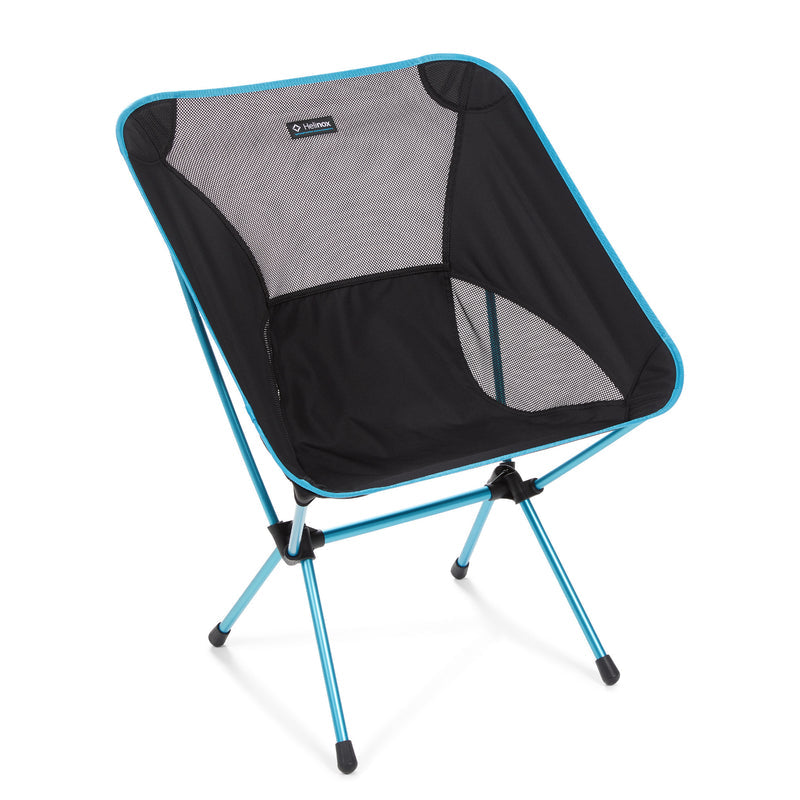
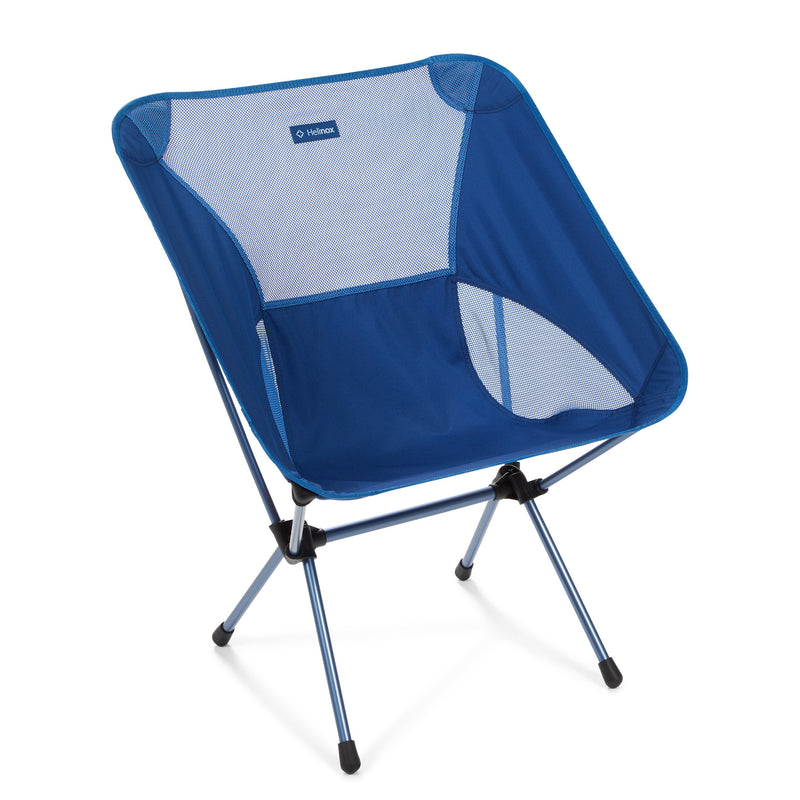
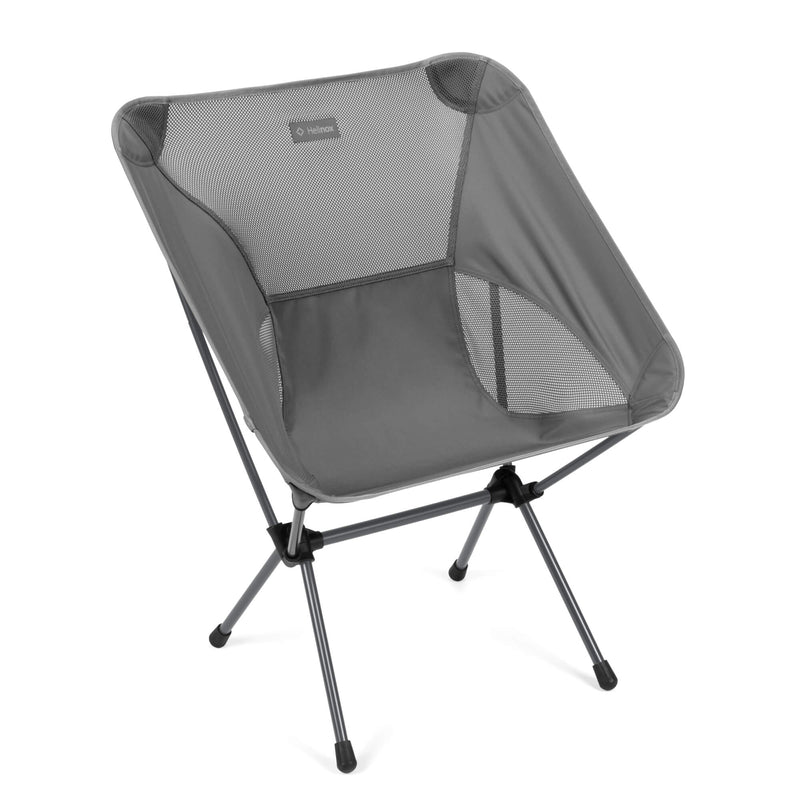
View full product detailsHelinox Chair One XL
$229.99 $249.99
Created to provide extra room without sacrificing hallmark Helinox performance and style, the Chair One XL increases your sitting space by 40%. Still relatively light...
View full product detailsFollow
(08) 9344 6252
Shop 9/58 Erindale Rd, Balcatta WA 6021
(We are in the same strip of shops as Altronics, Bridgestone, Down Range, Framers Point, NextBike, Pack-n-Send, Solomons Carpets, WA Florists)
Sign up to hear all the latest news, new products, gift ideas and what's going on at Go Camping & Overlanding!
P.S Don't worry we won't bombard you - ain't nobody got time for that!

